Showing posts with label DIY. Show all posts

March 15, 2012

Bathroom Artwork Switchout

I have had these frames for years and decided I wasn't in love with the look anymore. We have plans to renovate and probably gut this bathroom so I haven't wanted to spend any money on updating. Here is a quick before....

BathroomArtBefore

And after....
BathroomArtWorkAfter

I had these bird feather prints and they were previously in Clyde's nursery. I bought the flower painting at a thrift store for $3 a few months back. The artwork is by Camille and I used a frame and mat I already owned. (I cut the mat myself and it is far from perfect...hindsight being 20/20...I should have just laid the picture over the yellow mat instead of trying to cut.)

BathroomLeftUpclose

CamilleArtworkUpclose

PictureBefore

I have been working on this great coffee table I found at Class and Trash. Stay tuned as I get pictures posted hopefully in the next few days.

December 7, 2011

Mini Bench Complete!

Camille and I found this cute little bench at an estate sale for $18 back in October. It is the perfect size to sit next to our back door and put on shoes or set my purse. It needed some work. Here is the before.


I first pulled off the cushions and all previous batting etc.

I washed the chair with white vinegar and water then lightly sanded.  

We decided to add a piece of wood on the bottom for better support. Michael helped me with this part. Here he is measuring and cutting to fit. 

I spray painted with Rust-Oleum Ultra Coverage. It worked well.

 Here is the bench with the board screwed down. Michael helped with that part as well.

We had foam left over from our headboard project so I used that to make the bottom extra cushy!

I then covered the foam with batting.

Then I stapled the batting to the chair and cut off the excess.

I then draped the fabric over the batting and started stapling.

The corners were a challenge and I am going to have to go back and repair one of them.

After I finished stapling, I cut the excess fabric.

Here it is complete without the pillow. I forgot to take pictures of that process but I decided to go with a 14" x 28" pillow on the back instead of a cushion tied to the back. I got the pillow form for 50% off a Joanns and it was easy to make.  

Voila!

Not to bad for my first try at reupholstering! It came along way from this.....


I forgot to mention there was some gold detailing around some of the spindles that I really liked but got covered up with the spray paint. So I used some of my favorite Martha Stewart Gold Satin Metallic Paint and carefully painted the spindles. I have definitely gotten my $6 out of that bottle.

November 15, 2011

More Master Bedroom Updates

I have made a couple updates to our master bedroom.

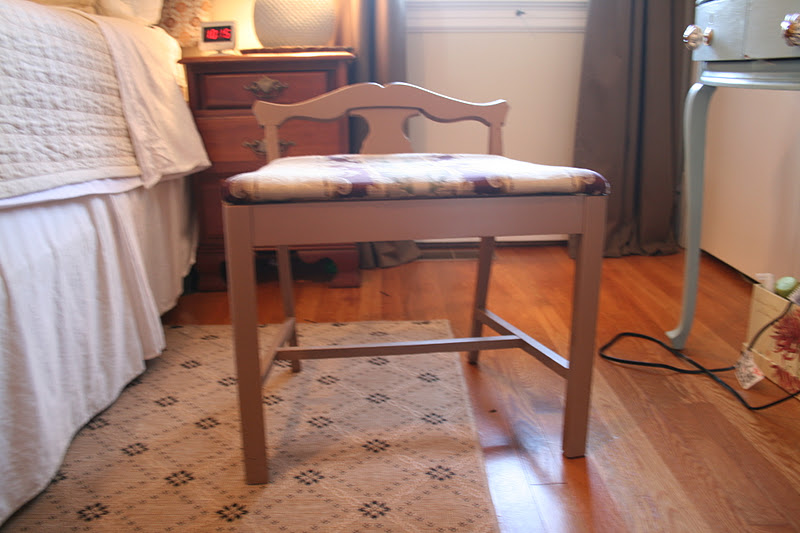
I received the dressing table stool in this post for free from a  family friend but I just couldn't figure out how to make it work. I wonder if I could do something with it now that I have my sewing machine but regardless I found the below stool at Diversity Thrift and snatched it up for $15.


I used the same yellow Garden Ridge fabric  from my bedroom pillow to cover the top.


For the paint, I sanded the entire stool, then painted one thin coat of Martha Stewart Living Metallic Paint in Vintage Gold. (I also used this on Camille's Tutu table). After drying, I took sandpaper and gently went over the painted stool.


I also found some great fabric on clearance at Garden Ridge...2 yards for $3! I really liked it better than the other two I put on the bench at the end of our bed. Read about those two here and here. It is sorta comical but the fabric from Garden Ridge is so cheap...I can change it out every month or two. ;) I used some of the extra fabric to make a pillow using the previous pillow form.


And my Love of Jesus Thrift find, made its way to the top of my dresser.


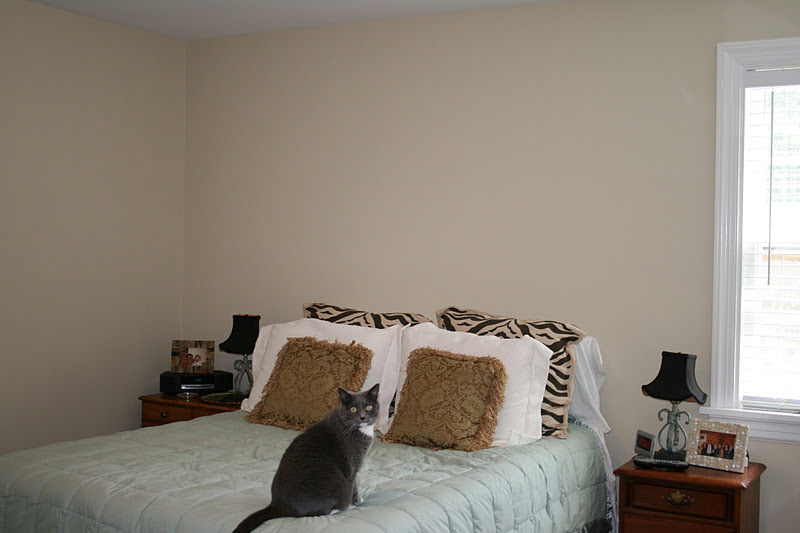
So we have come along way from this before picture when we moved in.....


Well I guess some things don't change, Cougar still loves sleeping on our bed and  I didn't bother moving her when I took this new picture. I had forgotten she was in my before shot from 2+ years ago as well!

October 5, 2011

Tutu Table

As promised, here are some more pictures and instuctions on creating the tutu table in Camille's room.

First as a reminder, here is my inspiration photo.

 Here is my table before....


I painted it with primer and then did one coat of Martha Living Metallic Paint from Home Depot.  I used vintage gold and some of the white of the primer came through which I liked.


I purchased the tulle for less than $2 a yard from Hobby Lobby. I got 6 yards but I probably did not need that much. My table was 57" around and 25.5" down. I ended up layering the tulle 4 times. I then used gathering tape (not sure if that is the exact name) from the drapery section at Hancock Fabrics. This was used to make the tulle gather. I pinned it to the top.

Then ran it through my sewing machine.

Then pulled the strings to gather. I then attached it to my table using a staple gun.


I then used my glue gun to attach the satin ribbon.


And voila!


I will be back tomorrow with more updates on the the frame for Camille's artwork as well as some spray paint updates to accessories!

August 17, 2011

Camille turns 4 at Kangaroo Jacs!

Camille insisted on having her 4th birthday party at Kangaroo Jacs. For those of you not familiar, it is a warehouse full of inflatables.

I wasn't sure what to do for the invitation so I put Kangaroo in the search line on Etsy and found  this cute birthday card with a striped kangaroo in a party hat.


I emailed Ryan from MAN vs GEORGE and an invitation and stickers were designed based on this kangaroo.

I am so happy with how it turned out and Ryan was awesome! From there, I decided to use this invitation as inspiration for the party. I found cute vinyl table clothes on sale from the summer line at Target from $1 to $2.50. I bought the plates and napkins there as well.


Then I found cute striped goodie bags to match the napkins and a banner from Target as well.


I cut tags from cardstock and added the stickers. Inside the goodie bags, I added  a color your own cutout from the Dollar Tree as well as two pixie sticks, a lollipop and a candy necklace, bracelet or lipstick also from the Dollar Tree.


I used the same stickers and serrated scissors and cardstock to make cupcake toppers.


I also made this  ball tree after seeing this one on Pinterest.


Stay tuned for a separate post on how to create this. It was a little time consuming and took a lot of ribbon but I found  some really cheap at Dollar Tree and Michaels. Here are some more pics from the big day....


I ordered Camille's shirt from Libbie & Winston. Really cute shirts and very affordable. Check her out on Facebook.


A good time was had by all!

PS...Today Clyde  met Dermabond! I can't believe they hadn't met before. Remember Clyde's carefree nature here. While hiding under the table, he hit his forehead on the  bench at our neighborhood restaurant, Flinns. A little Dermabond fixed him right up. Camille to Michael..."Daddy...they glued Clyde's head back together."